Learn how to use our Online learning platform
Let’s Get Started
|
|
When an enquiry is submitted through our website portal or direct email or phone call, one of our educational consultants will review the study requirement alongside the student’s foundation assessment. |

Announcement
We are using Teachworks and Lessonspace!
- Lessonspace is an easy, reliable cloud platform for video and audio conferencing, collaboration, chat, and webinars across desktops, mobile devices and tablets.
- Teachworks is a useful platform, designed to help tutors and students in organising, lesson scheduling and note sharing.
STEP 1 - SCHEDULING A LESSON
-
Login using your Teachworks credentials.
-
Upon Login you will land on your main dashboard.
-
Select CALENDAR tab > Click on CALENDAR.
-
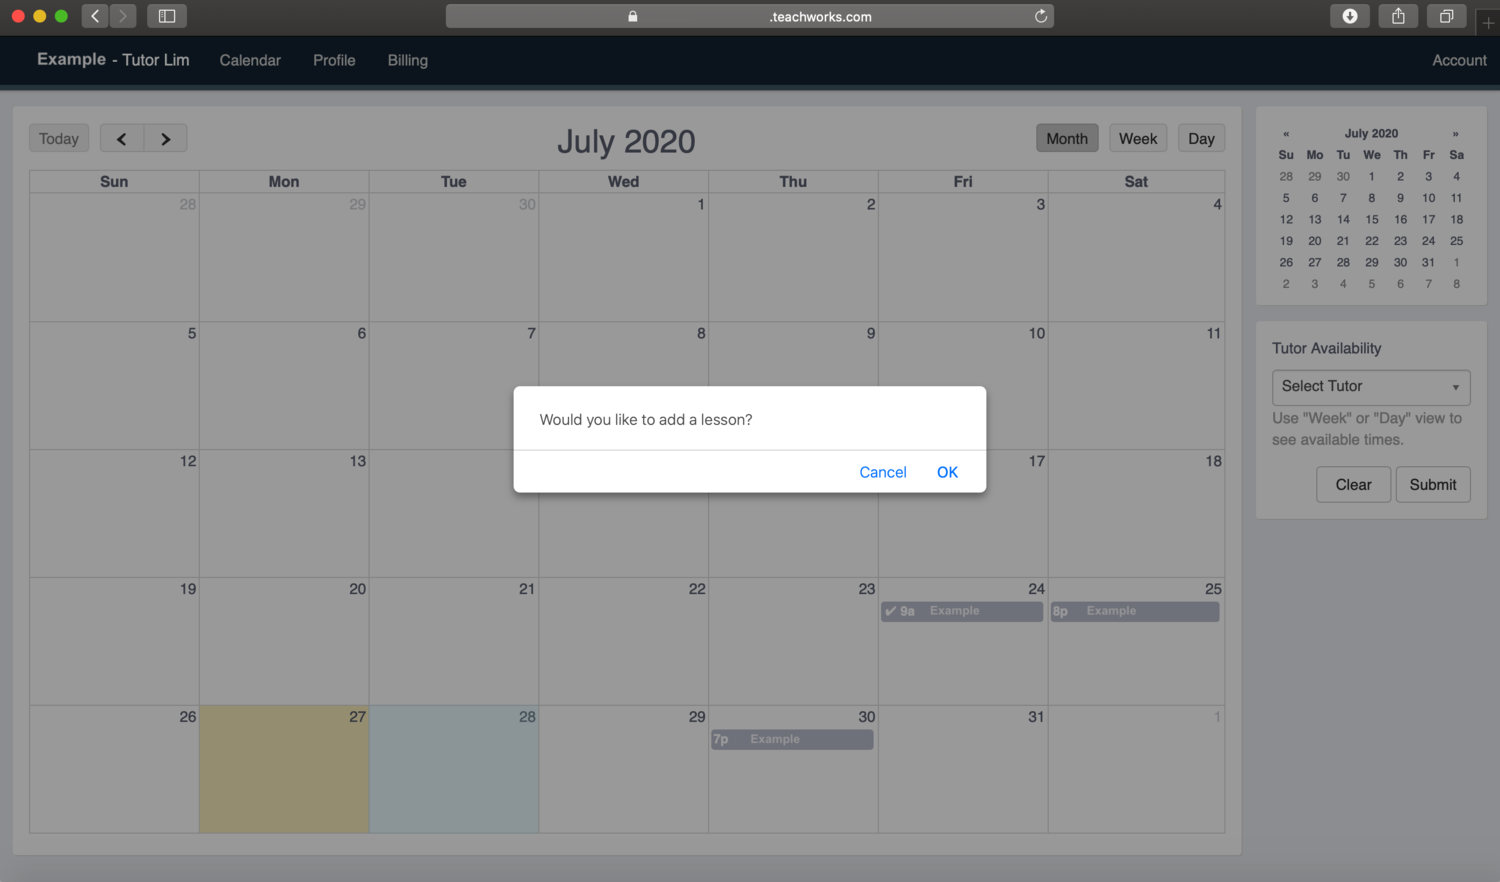
To schedule a Lesson, simply click on the (blank) date space on the Calendar.
-
A prompt “Would you like to add a lesson?” will appear > Click OK
STEP 2 - INSERT DETAIL TO YOUR LESSON
-
Insert details to your lesson, and this including:
-
Select STUDENTS (i.e. your name)
-
SERVICE TYPE: 1 TUTORING HOUR, 2 TUTORING HOUR and so on.
-
LOCATION select Online Lesson Space
-
-
Nominate Lesson Start / Ends
-
-
Make sure to Check Conflict
-
Check on Repeat (optional)
-
Add Description (optional)
-
and then Submit
-
-

STEP 3 - WHERE TO FIND THE LESSONSPACE BUTTON IN TEACHWORKS
For Students, you can either access via Calendar or Dashboard.
Calendar:
-
Click on the relevant lesson in the calendar
-
Click the “View” link
-
Click the blue “Launch Online Lesson Space” button

STEP 4a - SEE LESSONSPACE IN ACTION
A new window will prompt and you are Ready to go!
A couple of other things:
-
First time using Lessonspace? You can start playing with the demo version here prior to your class: www.thelessonspace.com/demo
-
Check out all Lessonspace features here: https://www.thelessonspace.com/features
-
The tool allows users to record the session too, so you can review it after the session.
-
The tool is equipped with learning toolkits incl. shared whiteboards, documents, and code editors.

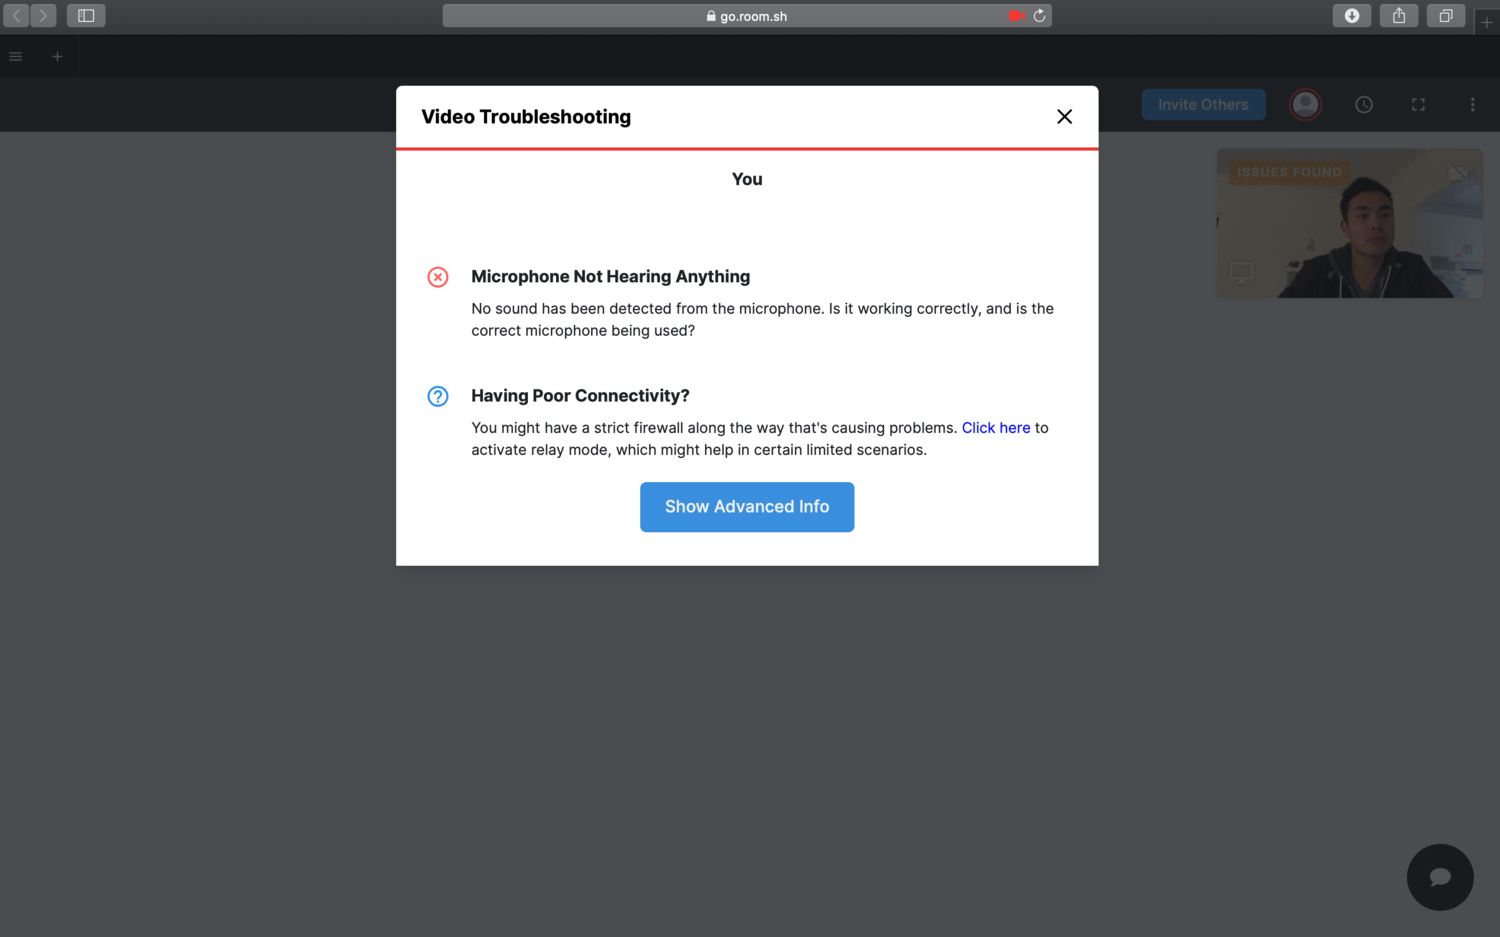
STEP 4b - TROUBLESHOOTING LESSONSPACE
-
If you have any network/ hardware problems with your online setup, you can use Lessonspace to help find out issues via its Advanced Troubleshooting Dialog.
-
Import and annotate documents e.g. import a PDF or MS Office documents. This is perfect for students/ tutors to be taking notes on lecture slides, tutorials or exam papers.
-
"One Click to Connect" on any platform. Lessonspace will run on any modern device with a web browser and students can join simply by clicking a link. No installs or setup is necessary.
-
Lessonspace is mobile and tablet friendly, at this stage, these devices do not support screen-sharing due to limitations of the firmware on said devices.